All about Summoners War TOA Hell and the Stage 1 strategy (F2P)
After several hundred hours of relentless farming, you have finally overcome the TOA and TOAH. Now a new challenge lies before you: the TOA Hell of Summoners War. This one doesn't work exactly like a normal ascension court. Let's take a closer look at what you can find in this tower and what strategy you should adopt in order to pass floor 1 with a composition F2P!
The TOA Hell of Summoners War in detail and the rewards
The TOA Hell does not have 100 floors like the normal hard ascension court but only 10. You will however find the rotation of Lyrith and Ath'taros on floor 10 every 30 days.
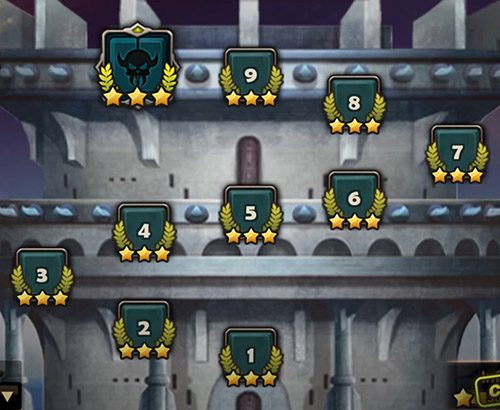
Your rewards will not depend on the success of the floor but on the number of stars you manage to get per floor. The star system is quite simple:
- 1 star: success of the floor ;
- 2 stars: Successful completion of the floor and an objective;
- 3 stars: success of the floor and 2 objectives.
Objectives are effects that apply to your opponent's monsters but also to yours! Please note that these must be ticked before starting the fight, otherwise they will not be active.
On the rewards side, you will receive 1 scroll mystic for each completed floor of the TOA Hell as well as additional rewards according to the number of stars you obtain throughout your journey.

From 21 to 30 stars, you will receive 50 crystals for each star you earn. Honestly, the rewards are profitable up to 20 stars, beyond that, it's more of a waste of mana and time as you'll have to change runes very often and teams to pass the 3 stars on all floors.
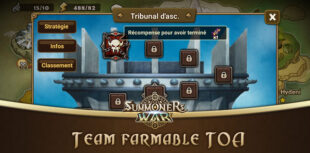
Team farmable (F2P) for the TOA Hell stage 1 of Summoners War
Many teams are possible, and that's the beauty of the game! But if you don't have any luck with the 5 NATs, then we recommend this farmable (F2P) team to get you through the first stage of Summoners War's TOA Hell with a more than acceptable success rate.
| Monsters | Recommended Runes | Mini Stats | Alternatives |
|---|---|---|---|
 Jeanne | Violent + Energy VIT / PV% / PV% | HP: +20,000 VIT: +100 Accuracy: 60%. |  Louise |
 Tyron | Violent + Focus VIT / DEF% or PV% / PV% | HP: +12,000 VIT: +110 Accuracy: 80%. |   Verad or Homunculus Water |
 Homunculus Dark | Violent + Energy PV% / PV% / DEF% or PV% | HP: +20,000 VIT: +60 Accuracy: 60%. |  Racuni |
 Belladeon 2A | Violent + Energy VIT / PV% /PV% | HP: +15,000 VIT: +100 Accuracy: 60%. |  Vigor 2A |
 Spectra 2A | Violent + Blade VIT / PV% / PV% | PV: +15 000 VIT: +80 Accuracy: 60% Crit. : 80% | - |
A few details are necessary for this team to be really effective in the first floor of TOA Hell. First of all, you need to set up the right skills for your Homunculus Dark:
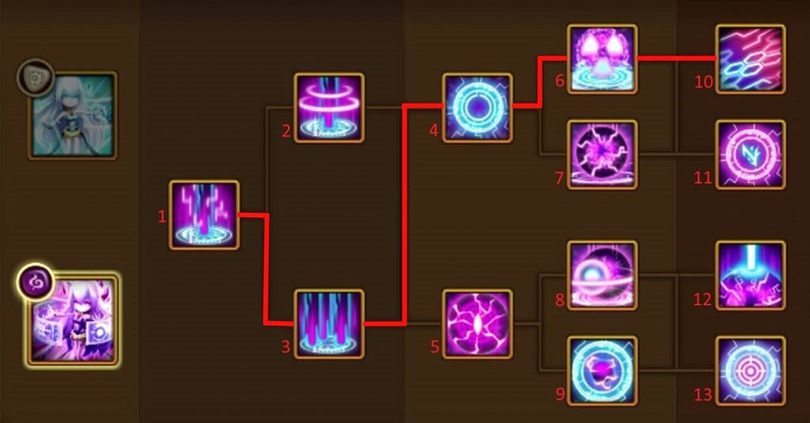
- S1: Dark Shock - Chain
- S2: Operation Gamma - Weaken
- S3: Unbalanced field
The Homonculus Dark will be very interesting here because in addition to reducing ATB and enemy defence, it reduces all your team's cooldowns. This allows you to slow down / control the enemy in a loop.
Then, Belladeon and Spectra will have to be awakened a second time (2A). And finally, all Violent runes sets can be replaced by a Quick set if your stats are not great on your Violent runes. Be careful, Jeanne must be in a Violent set.
SW TOA Hell Stage 1 Strategy
Now that we have a viable team, all we need to do is find out the strategy to get through this first stage of Summoners War TOA Hell!
Wave 1
The strategy for the first wave is simple. In the first round, drop as many debuffs as possible on your opponents:
- Reduce speed and ATB with Spectra ;
- Freeze or reduce ATB with Tyron;
- Reduce the defence with Bella;
- Provoke with Jeanne ;
- Don't forget to reduce the cooldown of your team with your Homie Dark.
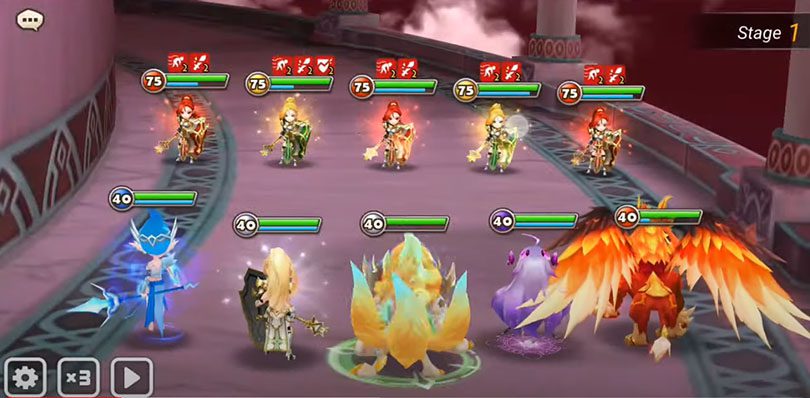
Once the AOE attacks (on all enemies) are over or on hold, you can focus your attacks on Louise, to avoid a shield or invincibility. Of course, you have 2 strippers at your disposal, Bella and your Homie (Homunculus). So even if the opponent has a beneficial effect, nothing is lost!
Important: When you feel the end of the wave approaching, be sure to switch to manual to control the skills of your monsters. It is important to start the next wave with all your skills ready to use.
Wave 2
For this second wave, repeat exactly the same strategy as the previous wave. It takes time, but the method is safe!
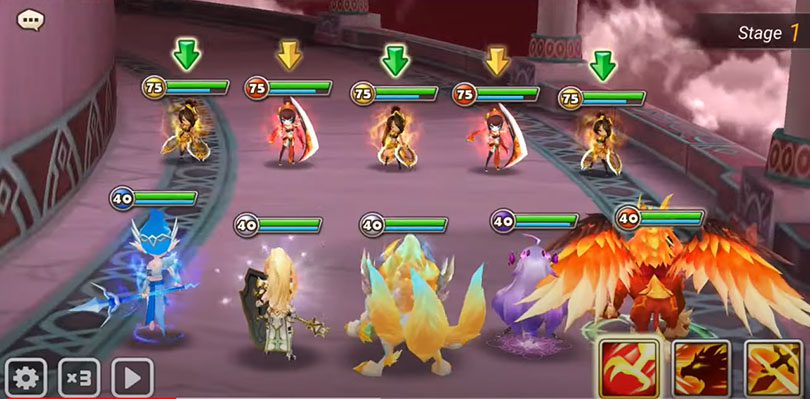
Once all the debuffs are set, you can focus the shots on the Boomerang Dancers (we like Maruna, but only when she's on our team 😂).
Wave 3
And finally, for the 3rd and last wave (the Boss) of thefloor 1 of the TOA Hell of SW, we adopt... still the same strategy! Put down your debuffs and concentrate your attacks on the boss. You manage slowly, but surely, to take him down.

This guide to the TOA Hell of Summoners War and its stage 1 is now complete. I hope you found it useful and that you too have managed to complete this first stage! Don't hesitate to give us your teams in comments.
If you are not yet up to speed and still have some farming to do to complete the TOA Hell, don't hesitate to install the APP Gallery's Game Center which allows you to have many additional rewards on Summoners War!
Co-author of the article: Benwtb(Benjamin K. )

Hakio
Co-founder of JeuMobi and passionate about virtual worlds of all kinds. It seems that Try Hard is also part of his vocabulary.
Similar articles
The strategy to beat Lyrith and achieve TOA 100
In this guide, we will show you the strategy to adopt to defeat Lyrith, as well as the monsters to use to do so. Lyrith is the second final boss...
The strategy to defeat Ath'taros at TOA 100
During your ascent of the TOA (Tribunal of Ascent), you will face 2 final bosses whose rotation varies every 30 days. One of them is called Ath't...
How to make a success of TOA with a farmable team?
To conquer the Ascension Court in Summoners War, you have to apply several strategies and test several compositions. To do this, you will need to...
All about the TOA of Summoners War
The TOA of Summoners War, otherwise known as the "Court of Ascension", is a mandatory part of your progression. It is divided into two parts, the...
List of free Summoners War 2024 codes
Looking to get some extra scrolls? Here's a tip to get some cool rewards with free and valid Summoners War codes for 2024!These are monthly coupo...
Punisher's Crypt Abyss Hard: F2P and Speed Team on Summoners War
A new level has just appeared in Summoners War's Dungeon Cairos: the Punisher's Crypt Abyss Hard (PC12). Like SF12, this is a tough level for any...


Leave a comment
Your email address will not be published. Required fields are marked with*.